
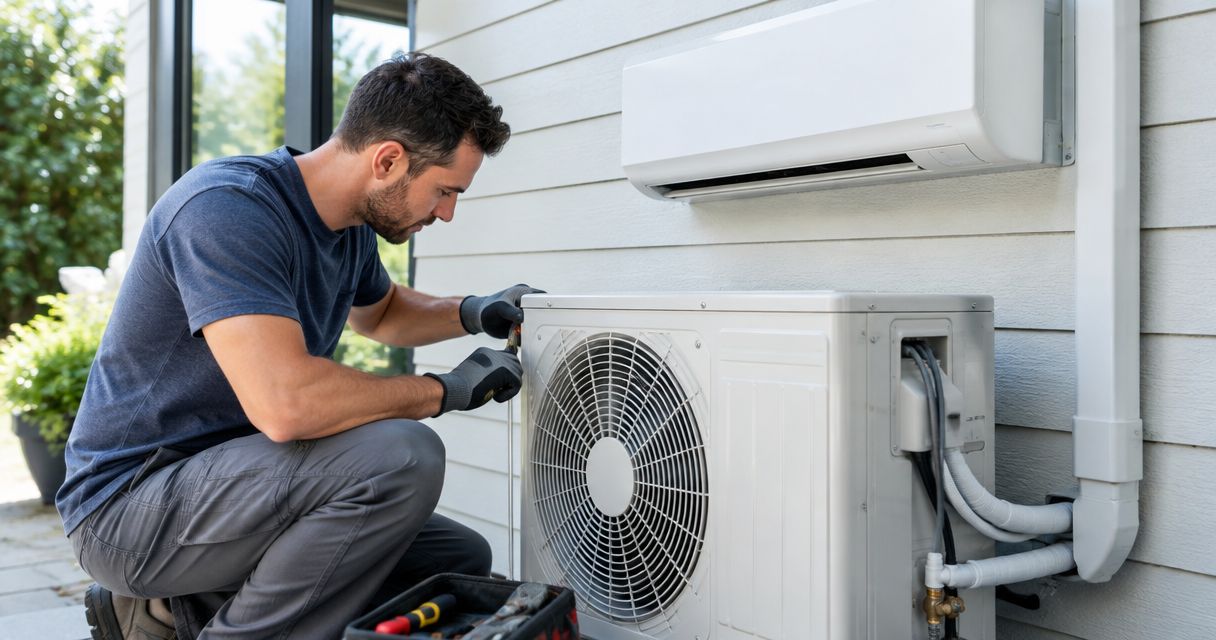
Yes, you can install a ductless mini split yourself if the specific system is designed for homeowner installation and your local rules allow the work. A conventional system is not the same project: refrigerant connections, electrical work, permits, and startup checks can require qualified professionals, even when you handle mounting and preparation yourself.
- Can you install a ductless mini split yourself? Yes, but only within the equipment instructions and local permit rules.
- Manufacturer-approved DIY mini splits simplify refrigerant connections; they do not eliminate electrical or drainage requirements.
- Conventional ductless air conditioning installation requires refrigeration skills, specialized equipment, and applicable technician certification.
- GSHA Services provides HVAC and electrical installation services for homeowners and businesses in Woodstock and Lake Bluff.
Why this matters
A mini split installation connects refrigerant piping, electrical power, condensate drainage, and equipment mounting. A mistake in one part can affect the whole system: a poor drain route can damage your wall, while an incorrect refrigerant connection can leave the equipment unable to cool properly.
For your 2026 project, decide who will handle each part before ordering equipment. GSHA Services provides HVAC and electrical installation services in Woodstock, Lake Bluff, and surrounding areas, giving local property owners a service option rather than a do-it-yourself equipment purchase alone.
The right question is not whether you can hang the indoor unit. It is whether you can complete and verify the entire installation safely and legally.
Can you install a ductless mini split yourself?
You can install a homeowner-installable mini split when the manufacturer's instructions explicitly permit that installation method, the site meets its requirements, and local authorities permit your involvement. Buying equipment online, receiving a precharged outdoor unit, or seeing a quick-connect fitting does not settle those questions.
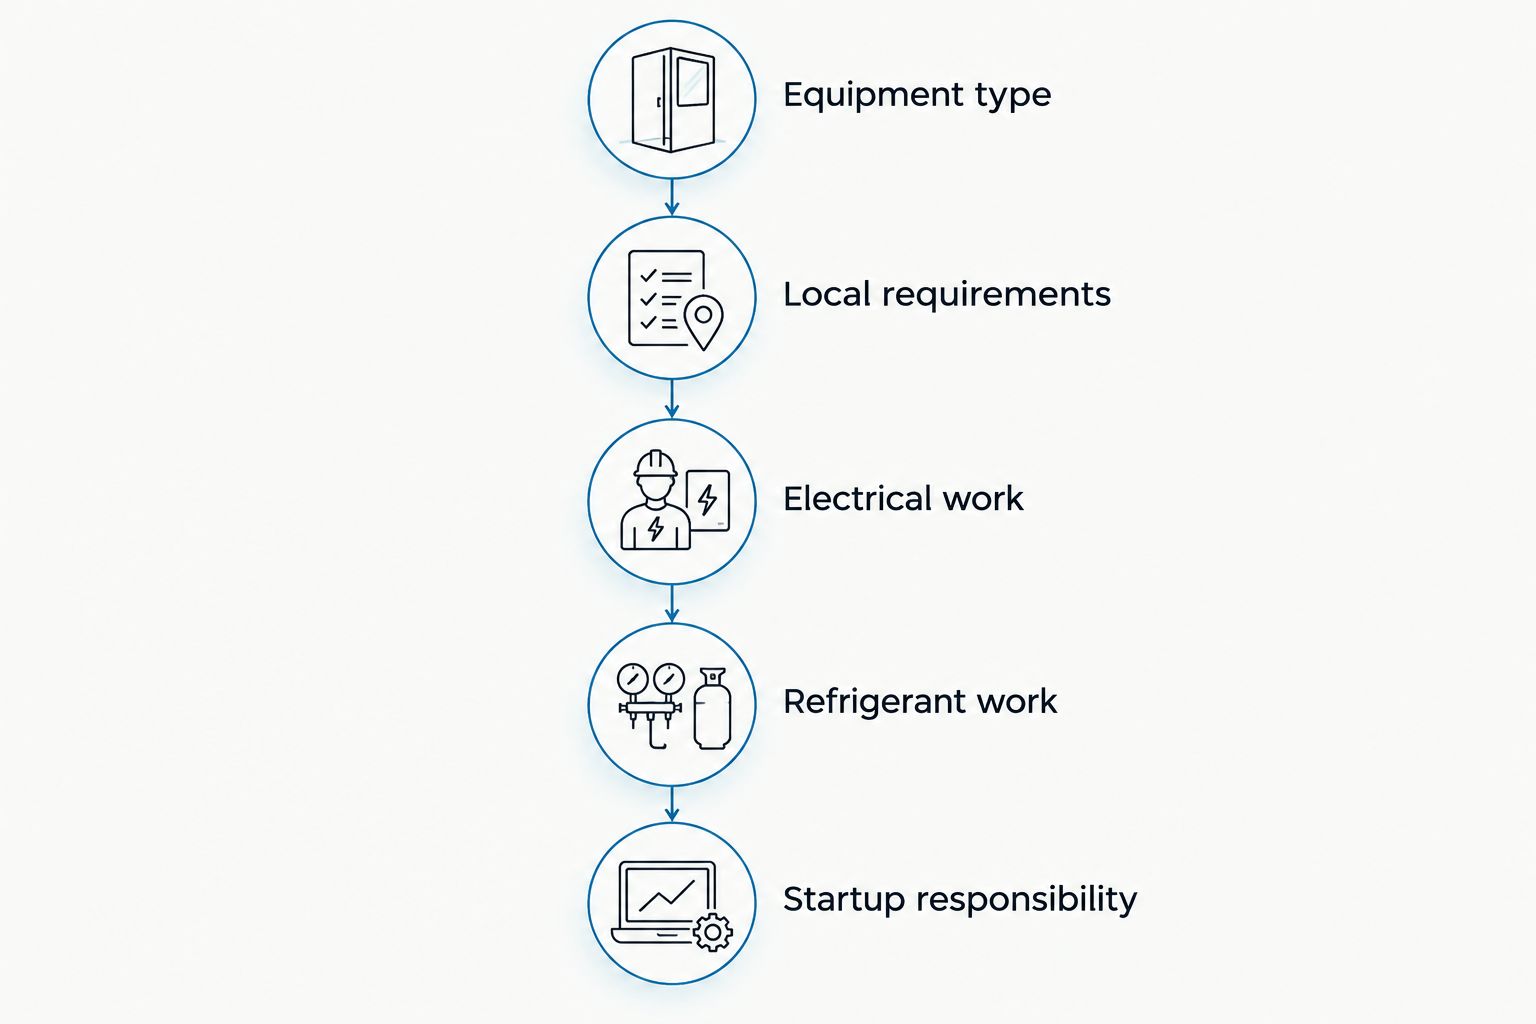
Use this sequence before committing to the project:
- Confirm the equipment type. Read the installation manual for the exact indoor unit, outdoor unit, and line-set combination. Look for explicit homeowner-installation instructions, not just simplified sales language.
- Check local requirements. Ask the building department serving your property about mechanical permits, electrical permits, inspections, and homeowner work restrictions.
- Assign the electrical work. Identify who will assess the circuit, disconnect, grounding, and panel requirements. Do not assume an existing nearby outlet is suitable.
- Assign refrigerant work. Establish whether the connection method requires evacuation, field charging, recovery, or other work that belongs with a qualified HVAC technician.
- Confirm startup responsibility. Decide who will verify drainage, operating performance, and any manufacturer-required commissioning records.
Keep written answers with your equipment documents. If a contractor will finish part of the work, have that contractor approve the division of responsibilities before you start.
Compare the installation approaches
These approaches divide responsibility differently. Choose the approach that covers the work you cannot safely perform, not simply the one with the fewest installation steps.
| Approach | Best for | Main advantage | Main limitation |
|---|---|---|---|
| Manufacturer-approved DIY system | Owners whose site fits the documented DIY requirements | Uses a connection method intended to simplify installation | Still requires compliant electrical work, drainage, mounting, and permits |
| Owner preparation with professional completion | Owners who want to handle agreed preparation tasks | Keeps specialized work with qualified trades | Requires advance agreement about equipment, workmanship, and handoff |
| Professional installation | Owners who want an installer responsible for the installation scope | Keeps sizing, placement, connections, and startup under a defined service scope | Gives the owner less direct control over how the installation work is performed |
Manufacturer-approved DIY systems: read the exact manual
A DIY label describes an installation method, not permission to ignore building rules. Some systems use factory-prepared refrigerant connections intended to avoid conventional field connection procedures. The instructions for that exact system determine what you can do.
The advantage is a more accessible installation process. The limitation is that the house still needs a suitable electrical supply, sound mounting surfaces, an approved piping route, and reliable condensate disposal.
For a 2026 purchase, review the installation manual and warranty terms before ordering. Confirm whether the manufacturer sets installer qualifications, registration requirements, or documentation requirements that affect coverage; do not assume every DIY-labelled system uses the same terms.
Best for: owners whose equipment instructions, property conditions, and local rules all support homeowner installation. If any of those conditions fails, change the installation plan rather than improvising around the restriction.
Conventional systems: leave refrigerant work to qualified technicians
A conventional mini split usually involves field-made refrigerant connections and procedures for checking tightness, removing air and moisture, and verifying the system before operation. A precharged outdoor unit does not prove that the connected piping has been prepared correctly.
The U.S. Environmental Protection Agency's Section 608 Technician Certification requirements cover technicians performing specified maintenance, service, repair, and disposal work that can release regulated refrigerants. For a 2026 installation, confirm the requirements for the actual refrigerant-related tasks; an online DIY claim is not a substitute for federal rules or the equipment instructions.
Refrigerant handling is not just about having gauges. The technician must understand the refrigerant, connection method, test procedure, evacuation requirements, and charging instructions for that equipment.
Best for: owners selecting conventional equipment or an installation that needs specialized refrigeration work. The benefit is professional control of those procedures; the trade-off is that the project is no longer a complete homeowner installation.
Never release refrigerant to shorten a line or correct a mistake. Stop and arrange qualified service if a connection leaks or a refrigerant circuit needs modification.
Owner preparation: agree on the handoff first
You can discuss taking on preparation tasks while leaving electrical and refrigeration work to professionals. Potential tasks include clearing access, documenting proposed equipment locations, and preparing an agreed work area.
Do not assume a contractor will accept owner-installed brackets, piping, wiring, or purchased equipment. Confirm the scope beforehand, including who checks concealed work and who corrects installation problems discovered during startup.
This approach can preserve useful homeowner involvement without treating technical work as a learning exercise. Its main drawback is divided responsibility: an unclear handoff can leave nobody assigned to finish a drain, seal a penetration, or document startup.
Best for: owners who want limited hands-on involvement and have a written agreement with the finishing contractor. Complete only the tasks that agreement assigns to you.
Why DIY suitability varies
The same equipment can be straightforward at one property and unsuitable for homeowner installation at another. These factors change the work involved:
- Connection design. A manufacturer-approved homeowner connection method differs from conventional field-made refrigerant connections. Follow the actual manual.
- Electrical supply. Circuit requirements, panel capacity, and disconnect placement determine the electrical scope. Physical space in a panel does not establish available electrical capacity.
- Piping route. Routing through finished rooms, multiple levels, or inaccessible spaces changes access and installation difficulty. Equipment-specific length and elevation limits still apply.
- Drainage route. Condensate needs an approved destination. Gravity drainage and pump-assisted drainage have different installation and maintenance needs.
- Mounting conditions. Wall construction, outdoor support, service access, and required clearances determine acceptable equipment locations.
- Permit and property rules. Local requirements and owner authorization matter. Rental properties and association-controlled buildings can involve additional approval steps.
For electrical planning, the guide to electrical upgrades for home-based businesses provides related context. Have the mini split's actual electrical requirements assessed separately rather than treating another appliance's circuit as an automatic match.
What should you check before choosing a location?
Choose locations for airflow, drainage, service access, and the manufacturer's clearances—not just the shortest path through the wall. A convenient drilling location can still be wrong if it leaves the indoor unit obstructed or the outdoor unit difficult to service.
For an Illinois installation in 2026, account for snow accumulation and roof runoff when evaluating outdoor placement. Keep the equipment accessible without placing it where runoff or accumulated debris interferes with operation.
Inside, confirm that condensate can reach its approved discharge point. A route that looks downhill from the front can still contain a hidden rise or sag that holds water.
Before any penetration, identify concealed electrical wiring, plumbing, and structural elements. Do not drill an exploratory opening where you cannot establish what is behind the surface. If the route cannot be verified safely, have a qualified installer assess it.
Does a mini split need a dedicated electrical circuit?
Follow the equipment nameplate, installation instructions, and applicable electrical code. Many residential mini splits use a dedicated circuit, but the required supply is equipment-specific: some smaller models use 120 volts, while many others use 208/230 volts. Those examples are not permission to connect a particular unit to an existing circuit.
An electrician must match the supply, conductor requirements, overcurrent protection, disconnect, and grounding to the selected equipment. Never select breaker size solely from a general online chart or from the system's cooling capacity.
Likewise, capacity does not establish wiring needs. One refrigeration ton equals 12,000 BTU per hour, but that is a cooling-capacity conversion, not an electrical installation specification or a room-sizing method.
Square footage alone also does not establish the correct capacity. Windows, insulation, air leakage, occupancy, and room exposure affect the heating and cooling load. Get the sizing decision right before resolving where the equipment will connect.
Can you install the indoor unit and hire someone to finish?
Yes, if the finishing contractor approves that arrangement before work begins. Agree on the equipment, bracket location, piping route, drain route, and inspection points before covering anything.
Ask what the contractor needs to see before accepting the work. Concealed piping or an inaccessible drain can make verification difficult, even when the visible installation looks neat.
GSHA Services is best for Woodstock and Lake Bluff property owners seeking HVAC and electrical installation services. Discuss your proposed DIY scope before mounting equipment so the service conversation starts with clear responsibilities rather than an unfinished installation.
Discuss your mini split installation
Review HVAC and electrical installation services for Woodstock, Lake Bluff, and surrounding areas.
What should happen before the first startup?
The installation needs verification before it becomes a cooling or heating system you rely on. Follow the manufacturer's startup procedure and use qualified trades for checks outside your training or permitted scope.
Confirm that these responsibilities are assigned:
- Mechanical checks: mounting security, required clearances, piping support, insulation, and sealed building penetrations.
- Drain checks: drainage from the indoor unit through the full route, including any pump and its required controls.
- Electrical checks: correct supply and completed connections, protection, grounding, and disconnect arrangements.
- Refrigerant checks: connection verification and any required testing, evacuation, or charge adjustment performed under the equipment instructions.
- Operating checks: commanded modes, airflow, abnormal vibration, fault indications, and required commissioning records.
Air coming out cold is not a complete startup test. A system can produce conditioned air while a drain leaks, a connection remains faulty, or an installation requirement has been missed.
Keep the model information, installation manual, permit records, and startup documentation together. For a 2026 installation, those records establish what was installed and who completed each part.
FAQ
Can I install a ductless mini split myself without an HVAC license?
You can perform homeowner installation only where the equipment instructions and applicable rules permit it. Local licensing rules, electrical requirements, and federal refrigerant requirements apply to their respective parts of the work.
Does a precharged mini split mean I do not need a technician?
No, a precharged outdoor unit alone does not establish that the system is homeowner-installable. Check whether the exact connection method requires professional testing, evacuation, charging, or other specialized work.
Do I need a permit to install a mini split in Illinois?
Confirm permit requirements with the building department serving your Illinois property before starting. Ask specifically about mechanical work, electrical work, inspections, and whether homeowner installation is allowed.
Can I plug a mini split into a regular wall outlet?
Do not assume a regular wall outlet is suitable for a mini split. Use the electrical supply and connection method specified by the exact equipment instructions and applicable code.
Will installing a mini split myself void the warranty?
Warranty coverage depends on the manufacturer’s written terms for the exact equipment. Review installer qualifications, registration conditions, and required installation records before deciding who will perform the work.
Can I shorten a precharged mini split line set myself?
Do not cut or alter a precharged line set unless the manufacturer explicitly provides an approved procedure for that system. Modification can release refrigerant and create work requiring qualified service.
What should I ask an installer before buying a DIY mini split?
Ask whether the installer accepts your selected equipment and proposed division of work. Confirm responsibility for electrical work, refrigerant connections, permits, drainage, startup, and correction of owner-completed work.
One last thing
Choose the installer handoff before you choose the equipment. A contractor's willingness to finish a particular DIY project is not something to discover after the indoor unit is on the wall.
Send the exact equipment manual and proposed scope before purchasing. That single planning step helps you decide whether to proceed with homeowner installation, split the work, or put the whole installation under professional responsibility.
Related guides
- Is Ductless AC Worth It for a Single-Room Home Addition?
- Ductless AC Installation for Rental Units
- How to Connect a Smart Thermostat to a Ductless Mini Split System


