

Instead of managing charging around an unsuitable outlet, arrange a ChargePoint Home Flex panel installation with a qualified electrician who checks electrical capacity, installs a dedicated circuit, and commissions the charger at the correct current limit. This 2026 guide separates the decisions you can make from panel connections, testing, and inspections that belong to the electrician.
- ChargePoint Home Flex panel installation starts with a load calculation, not an empty breaker slot.
- GSHA Services provides electrical installation services for homeowners and businesses in Woodstock, Lake Bluff, and surrounding areas.
- Choose hardwired or plug-in EV charging before the electrician designs the dedicated circuit.
- Set charging current to match the completed circuit; an app setting cannot increase electrical capacity.
Why this matters
A charger adds a sustained electrical load. An empty breaker position does not establish that your service, panel, or existing wiring can support it.
GSHA Services is best for homeowners and businesses seeking local electrical installation services in Woodstock, Lake Bluff, and surrounding areas. Arrange an electrical assessment through GSHA Services before committing to a charger location or circuit size. The assessment must establish what your property can support; the charger specification alone cannot answer that question.
For a 2026 project, your electrician must use the requirements adopted by the local permitting authority and the installation instructions for your exact equipment. A general guide does not replace either document.
Before you start
- Gather equipment information. Have the exact ChargePoint Home Flex model, its installation instructions, vehicle charging specifications, and photographs of the closed panel and proposed mounting location. Do not remove the panel cover for photographs.
- Arrange professional access. Your electrician needs access to the panel, service information, wiring route, and mounting area. Confirm permitting and inspection requirements with the local authority before work begins.
- Check the connection type first. Hardwired and plug-in installations have different requirements. An existing receptacle is not proof of a suitable charging circuit; its breaker, wiring, grounding, condition, and required protection still need verification.
Do not open the panel, move breakers, or connect conductors yourself. Parts of a panel can remain energized even when the main breaker is off. Treat this as a project-planning and acceptance guide, not a wiring procedure.
Electrical capacity and circuit design
Establish the charging load
- Choose a practical charging target. Give the electrician your driving routine, typical parking window, and vehicle information. Request a circuit that meets those needs rather than assuming the highest charger setting is necessary.
- Have the electrician calculate the load. The calculation must account for the existing electrical service and applicable loads, including heating, cooling, cooking, and other large equipment.
- Confirm panel compatibility. The electrician must verify the panel rating, permitted breaker types, equipment condition, and usable circuit positions. Physical space is only one part of the decision.
- Approve the circuit design. Have the electrician document the breaker rating, permitted charging current, connection method, and any required service or panel work before installation.
Expected result: You have a documented circuit plan that fits the property, not just a charger mounted near the panel.
EV charging is treated as a continuous load under the National Electrical Code. The familiar sizing relationship is that the branch-circuit rating must be at least 125% of the continuous charging load, subject to the applicable equipment instructions and code provisions.
For example, 32 amps of charging requires at least a 40-amp circuit, while 40 amps requires at least a 50-amp circuit. A 48-amp charging setting requires at least a 60-amp circuit and must be supported by the exact equipment and connection method. These examples are not instructions to select a breaker without evaluating the rest of the circuit.
A panel replacement is not an automatic requirement for every EV charger. If the assessment identifies necessary panel work, review the electrical panel upgrade guide before discussing the proposed equipment with your electrician.
Connection method and installation route
Choose hardwired or plug-in charging
Both approaches require a suitable dedicated circuit. The decision belongs in the design stage because it affects the equipment connection, receptacle requirements, and installation details.
| Connection method | Best for | Advantage | Limitation |
|---|---|---|---|
| Hardwired connection | A fixed charging location | Eliminates the plug-and-receptacle connection at the charger supply | Electrical disconnection requires qualified work |
| Plug-in connection | A compatible charger version and an approved receptacle installation | Allows unplugging without disconnecting fixed conductors | Adds a receptacle connection that must be correctly specified and maintained |
Choose the connection method that suits the approved circuit and exact charger model. Do not select plug-in charging simply because a receptacle is already present, or hardwiring simply because you expect it to increase charging speed. Circuit capacity and equipment limits determine the permitted current.
Plan the mounting position and supply route
- Mark the charging position. Park the vehicle where it normally sits and identify the charge-port location. Check cable reach without stretching the cable or routing it across a walkway.
- Review the supply route. Ask the electrician to identify the proposed route from the panel to the charger, including penetrations, exposed sections, and protection against physical damage.
- Confirm environmental requirements. The electrician must check the exact equipment instructions for mounting, enclosure suitability, clearances, and any outdoor connection requirements.
- Authorize professional installation. Have the electrician install the branch circuit and charger connection, apply manufacturer-specified termination requirements, and complete required labeling. Leave the equipment de-energized until the required checks are complete.
Expected result: The charger has an approved mounting location and a professionally installed supply circuit, with the cable clear of vehicle paths and routine foot traffic.
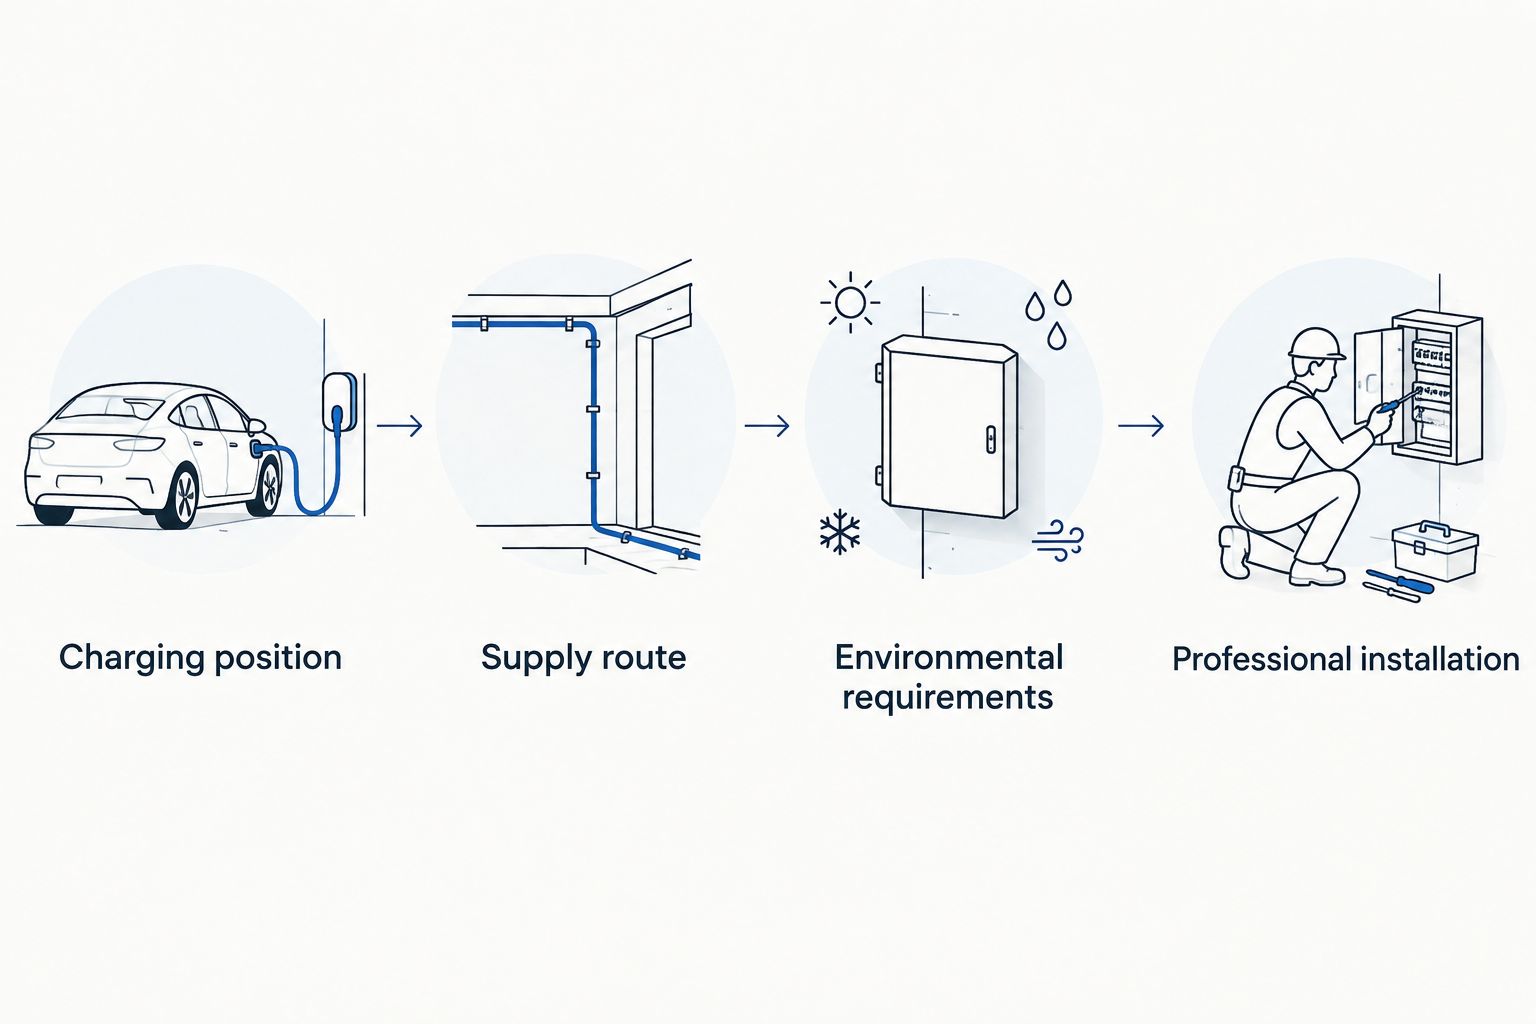
The shortest route is not automatically the right route. A slightly different mounting position can keep the charging cable away from a doorway or prevent a vehicle from striking the equipment. Resolve those everyday-use issues before the wiring route is finalized.
Current configuration and commissioning
Match the charger setting to the circuit
- Record the installed circuit rating. Obtain the breaker rating and maximum permitted continuous charging current from the electrician. Keep these with the installation paperwork.
- Follow the current ChargePoint setup instructions. Use the commissioning process specified for your exact Home Flex version. Follow the displayed prompts rather than instructions written for a different app release or charger model.
- Set the approved current limit. Have the electrician or authorized installer confirm that the configured limit does not exceed the installed circuit's permitted charging load. Do not choose a higher setting to match the vehicle's maximum capability.
- Complete electrical verification. The electrician must perform the required installation checks before normal use. Complete any required inspection and obtain approval for operation.
- Run an attended charging session. Connect the vehicle after approval and confirm charging starts without faults. Stop using the equipment if you notice a burning smell, discoloration, unusual heat, or repeated protective-device trips.
Expected result: The charger operates within the circuit's documented limit, and you have a clear record of the completed installation.
App screens and commissioning methods change. For your 2026 installation, use the instructions supplied for the exact charger and current software; do not rely on an old screenshot's button names.
A charging session alone does not prove that the installation is correct. The electrician's checks and any required inspection establish the electrical acceptance; the charging session confirms normal operation with your vehicle.
Alternate workflow: replace an existing EV charger
Replacing a charger does not automatically justify increasing the charging current. Keep the existing circuit's approved limit until an electrician verifies that the entire installation supports a change.
- Collect the existing records. Find the previous permit, circuit information, and charger documentation if you have them. Treat an unidentified circuit as something to investigate, not something to reuse without checks.
- Have the circuit inspected. The electrician must verify its suitability for the replacement charger, including wiring condition, protection, grounding, and connection method.
- Check the new mounting arrangement. Confirm the replacement equipment's mounting requirements and cable reach. An old mounting location is not automatically suitable.
- Commission the replacement. Configure the new charger to the approved circuit limit and complete the required testing and inspection process.
Expected result: The replacement charger uses a verified circuit at a documented current limit.
This workflow can preserve suitable existing infrastructure, but it does not remove the need for inspection. If your 2026 plans include additional electrical equipment, disclose that during the assessment rather than sizing the charger circuit in isolation.
Troubleshooting
The breaker or ground-fault protection trips
Stop charging and leave the circuit off if trips repeat. Have the electrician check the installed protection, circuit condition, equipment instructions, and charger faults. Never bypass ground-fault protection or substitute a larger breaker to stop tripping.
The vehicle charges more slowly than expected
Compare the documented charger current limit with the vehicle's AC charging capability and its charge settings. Battery condition, vehicle settings, and schedules also affect the session. Do not raise the charger limit until the electrician confirms that the circuit supports it.
The charger will not finish network setup
Check the current ChargePoint setup instructions and confirm that the required network reaches the mounting location. Record the exact error message for support. Do not open electrical compartments or change circuit settings to troubleshoot a network connection.
Charging does not start at the expected time
Check whether both the vehicle and charger have charging schedules enabled. Conflicting schedules can prevent the session you expect. Review both schedules and assign routine scheduling to one system unless you intentionally need both.
The plug or receptacle shows heat damage
Stop charging immediately if you see discoloration, melting, or other damage. Do not keep using the connection after it cools. Have an electrician inspect the receptacle, plug, wiring, and terminations before charging resumes.
Customize your workflow
Once the electrical installation is accepted, choose a charging schedule that fits your parking routine. Confirm that the vehicle is ready when needed before making the schedule more restrictive.
Ask for a handover record containing the circuit rating, configured charging limit, equipment identification, inspection information, and operating instructions. A written limit prevents a later app change from becoming an electrical mistake.
GSHA Services provides electrical installation and repair services, but the work your property needs must be established through assessment. Describe the charger project alongside any planned heating, cooling, generator, or other electrical changes so the scope addresses the property's intended use.
Arrange an electrical assessment
Discuss panel capacity, circuit routing, and your home EV charging installation.
FAQ
Can I connect a ChargePoint Home Flex to my panel myself?
Have a qualified electrician make the panel and circuit connections. Panel components can remain energized even with the main breaker off, and installation must follow equipment instructions and local requirements.
Does ChargePoint Home Flex installation always require a panel upgrade?
No, a panel upgrade is not automatic. An electrician must assess electrical capacity, panel condition, breaker compatibility, and the proposed charging load before deciding what work is necessary.
What size breaker does a ChargePoint Home Flex need?
The breaker rating depends on the approved charging current and exact installation. For example, a 32-amp continuous charging load requires at least a 40-amp circuit; the wiring and equipment must also support the design.
Is hardwiring better than plugging in a home EV charger?
Hardwiring removes the plug-and-receptacle connection, while plug-in charging allows unplugging compatible equipment. Choose according to the exact charger model, circuit design, and applicable installation requirements.
Can I use an existing garage receptacle for my charger?
Only use it after an electrician verifies that the complete circuit meets the charger’s requirements. A matching plug shape does not establish suitable wiring, protection, grounding, or receptacle condition.
Can I increase charging speed in the ChargePoint app?
Do not increase the charging current above the circuit’s documented limit. A software setting cannot increase the capacity of the breaker, conductors, or equipment connections.
Who can assess a home EV charger installation near Woodstock or Lake Bluff?
GSHA Services provides electrical installation and repair services in Woodstock, Lake Bluff, and surrounding areas. Request an assessment of the proposed charger location, panel capacity, and supply route.
One last thing
Treat the charging-current setting as part of the electrical installation, not a personal preference. For a 2026 handover, ask the electrician to record that setting alongside the circuit information. Keep the record even if you replace your phone, change vehicles, or transfer access to another household member.
Related guides
- Home EV charger brands
- Electrical upgrades for home-based businesses
- Generac PWRcell to whole-home backup power workflow


